INSTRUCTION MANUAL
DNN990HD/ DNN770HD
CONNECTED NAVIGATION SYSTEM
INSTRUCTION MANUAL
CONNECTED NAVIGATION SYSTEM
You can edit schedules on the internet. In addition, you can also synchronize the schedule with Google Calendar.
|
Preparation
|
Register account information for synchronization with the Google account.
 ] in the Network contents panel.
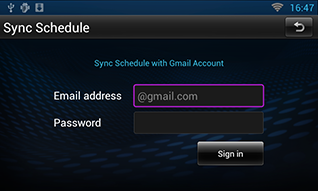
 ] in the Network contents panel.
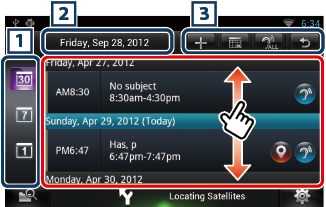
|
1 View category |
|
|
|
2 Date information |
|
Displays the date of the displayed schedule. Touching this displays the date of the schedule to be displayed. |
|
3 Buttons |
|
|
|
(Schedule list) |
|
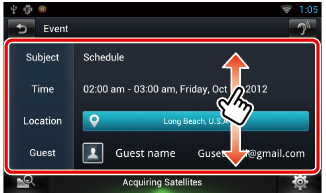
Displays a schedule. Touching this displays details of the schedule.
|
|
|
|
Reads out the content of the schedule by voice. |
|
Sign out |
|
Logs out from the current account. |
|
Edit event |
|
Edit schedule. |
|
Delete event |
|
Deletes schedule. When a confirmation screen appears, touch “Yes”. |
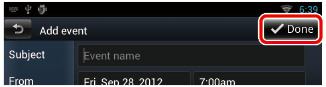
Adds an event to the schedule.
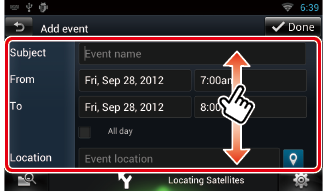
Enter an event name, date and time, description, etc.
Synchronizes the schedule with Google Calendar if used.
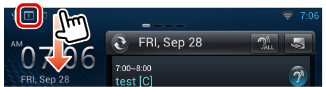
Displays a notification icon in the message window and status bar when the set time is reached.
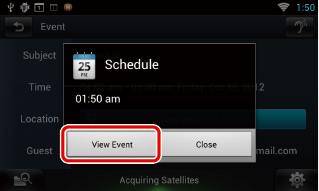
The Schedule application starts to display details.
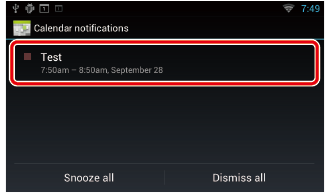
The Schedule application starts to display details.
![]()
![]()
© 2013 JVC KENWOOD Corporation