Connecting the system and external components
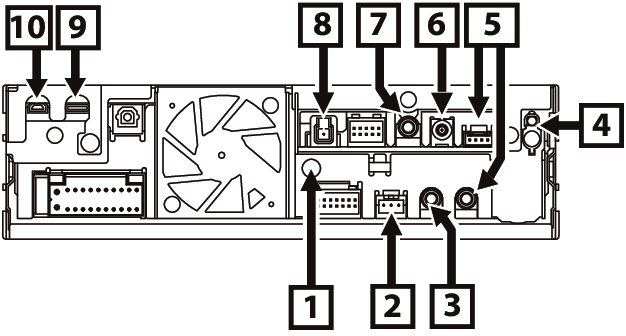
① | Secure both ground wires from accessory ⑭ together to the chassis as show in the diagram below. |
② | Dashboard camera interface Connect a Dashboard Camera DRV-N520 (optional accessory). Connecting the camera |
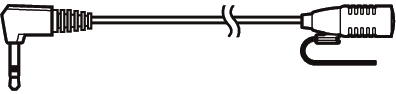
③ | Accessory ③ : Microphone
|
④ | FM/AM antenna input
|
⑤ | iDatalink Maestro connector |
⑥ | Accessory ㉑ : DAB antenna
|
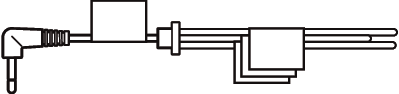
⑦ | Accessory ⑰ : Steering remote harness Connect to vehicle’s steering remote harness. Contact your KENWOOD dealer for details.
|
⑧ | Accessory ⑥ : GPS Antenna Use the supplied GPS antenna. Using the GPS antenna other than the supplied one may cause a drop in positioning accuracy.
|
⑨ | USB terminal (USB Type-C®) |
⑩ | HDMI input (Type-D) Connect a KCA-HD200 (optional accessory) to HDMI input terminal. |

Installation/removal of fixing bracket
When you connect the cable to HDMI terminal and USB terminal, remove the fixture. After connecting the cable, put the fixture again.